The Complete Step-by-Step AR Energy Solar Installation Process
Thinking about installing solar panels on your Adelaide home but not sure where to start? At AR Energy, we believe going solar should be simple, transparent, and stress-free. That’s why we’ve developed a clear, professional installation process to guide you from first enquiry to enjoying reliable solar power for years to come.
Here’s a complete step-by-step breakdown of what you can expect when you choose AR Energy for your solar installation.
Step 1. Initial Consultation and Energy Assessment
Your solar journey begins with a friendly, obligation-free consultation. One of our experienced solar consultants will:
1. Listen to your goals and energy concerns
2. Review your recent electricity bills to understand your daily and seasonal usage
3. Discuss your future plans (e.g. EV charging, battery storage, pool installation)
4. Answer any questions you have about rebates, payback periods, or panel technology
This ensures we recommend a system that’s tailored to your household’s needs – not just a generic package.
Step 2. Roof and Site Inspection
Once we’ve assessed your energy usage, our team conducts a thorough site and roof inspection, either in person or via high-resolution satellite imagery combined with a physical check if needed.
We check for:
1. Roof size, orientation, and tilt
2. Shading issues from trees, antennas, chimneys, or neighbouring buildings
3. Switchboard condition and upgrade requirements
4. Safe cable pathways for installation
Tip: A professional roof inspection avoids unexpected issues on installation day and ensures your panels are positioned for maximum sunlight exposure.
Step 3. Personalised Solar System Design and Quote
Using your energy assessment and roof inspection data, we design a custom solar system layout showing:
1. The ideal number and placement of panels
2. Recommended inverter and battery options (if relevant)
3. Estimated daily and annual solar production
4. Financial projections including rebates, upfront cost, and payback period
You will receive a detailed quote with transparent pricing, so you know exactly what you’re paying for with no hidden surprises.
Step 4. Government Rebate Processing
Navigating solar rebates can feel confusing, but AR Energy handles all the paperwork for you.
Our team will:
1. Process your Small-scale Technology Certificates (STCs) rebate to reduce upfront costs
2. Assist with state-based battery rebates if you choose to add storage
3. Ensure all products and installations meet Clean Energy Council (CEC) and SAA requirements for rebate eligibility
Step 5. Scheduling Your Installation
Once you approve your solar design and quote, we’ll schedule your installation on a date that suits you. Our operations team will confirm:
1. Expected arrival time of installers
2. Estimated installation duration
3. Access requirements for your roof and switchboard
Most standard residential solar installations are completed in 1 day, depending on weather conditions and system complexity.
Step 6. Professional Installation by SAA-Accredited Installers
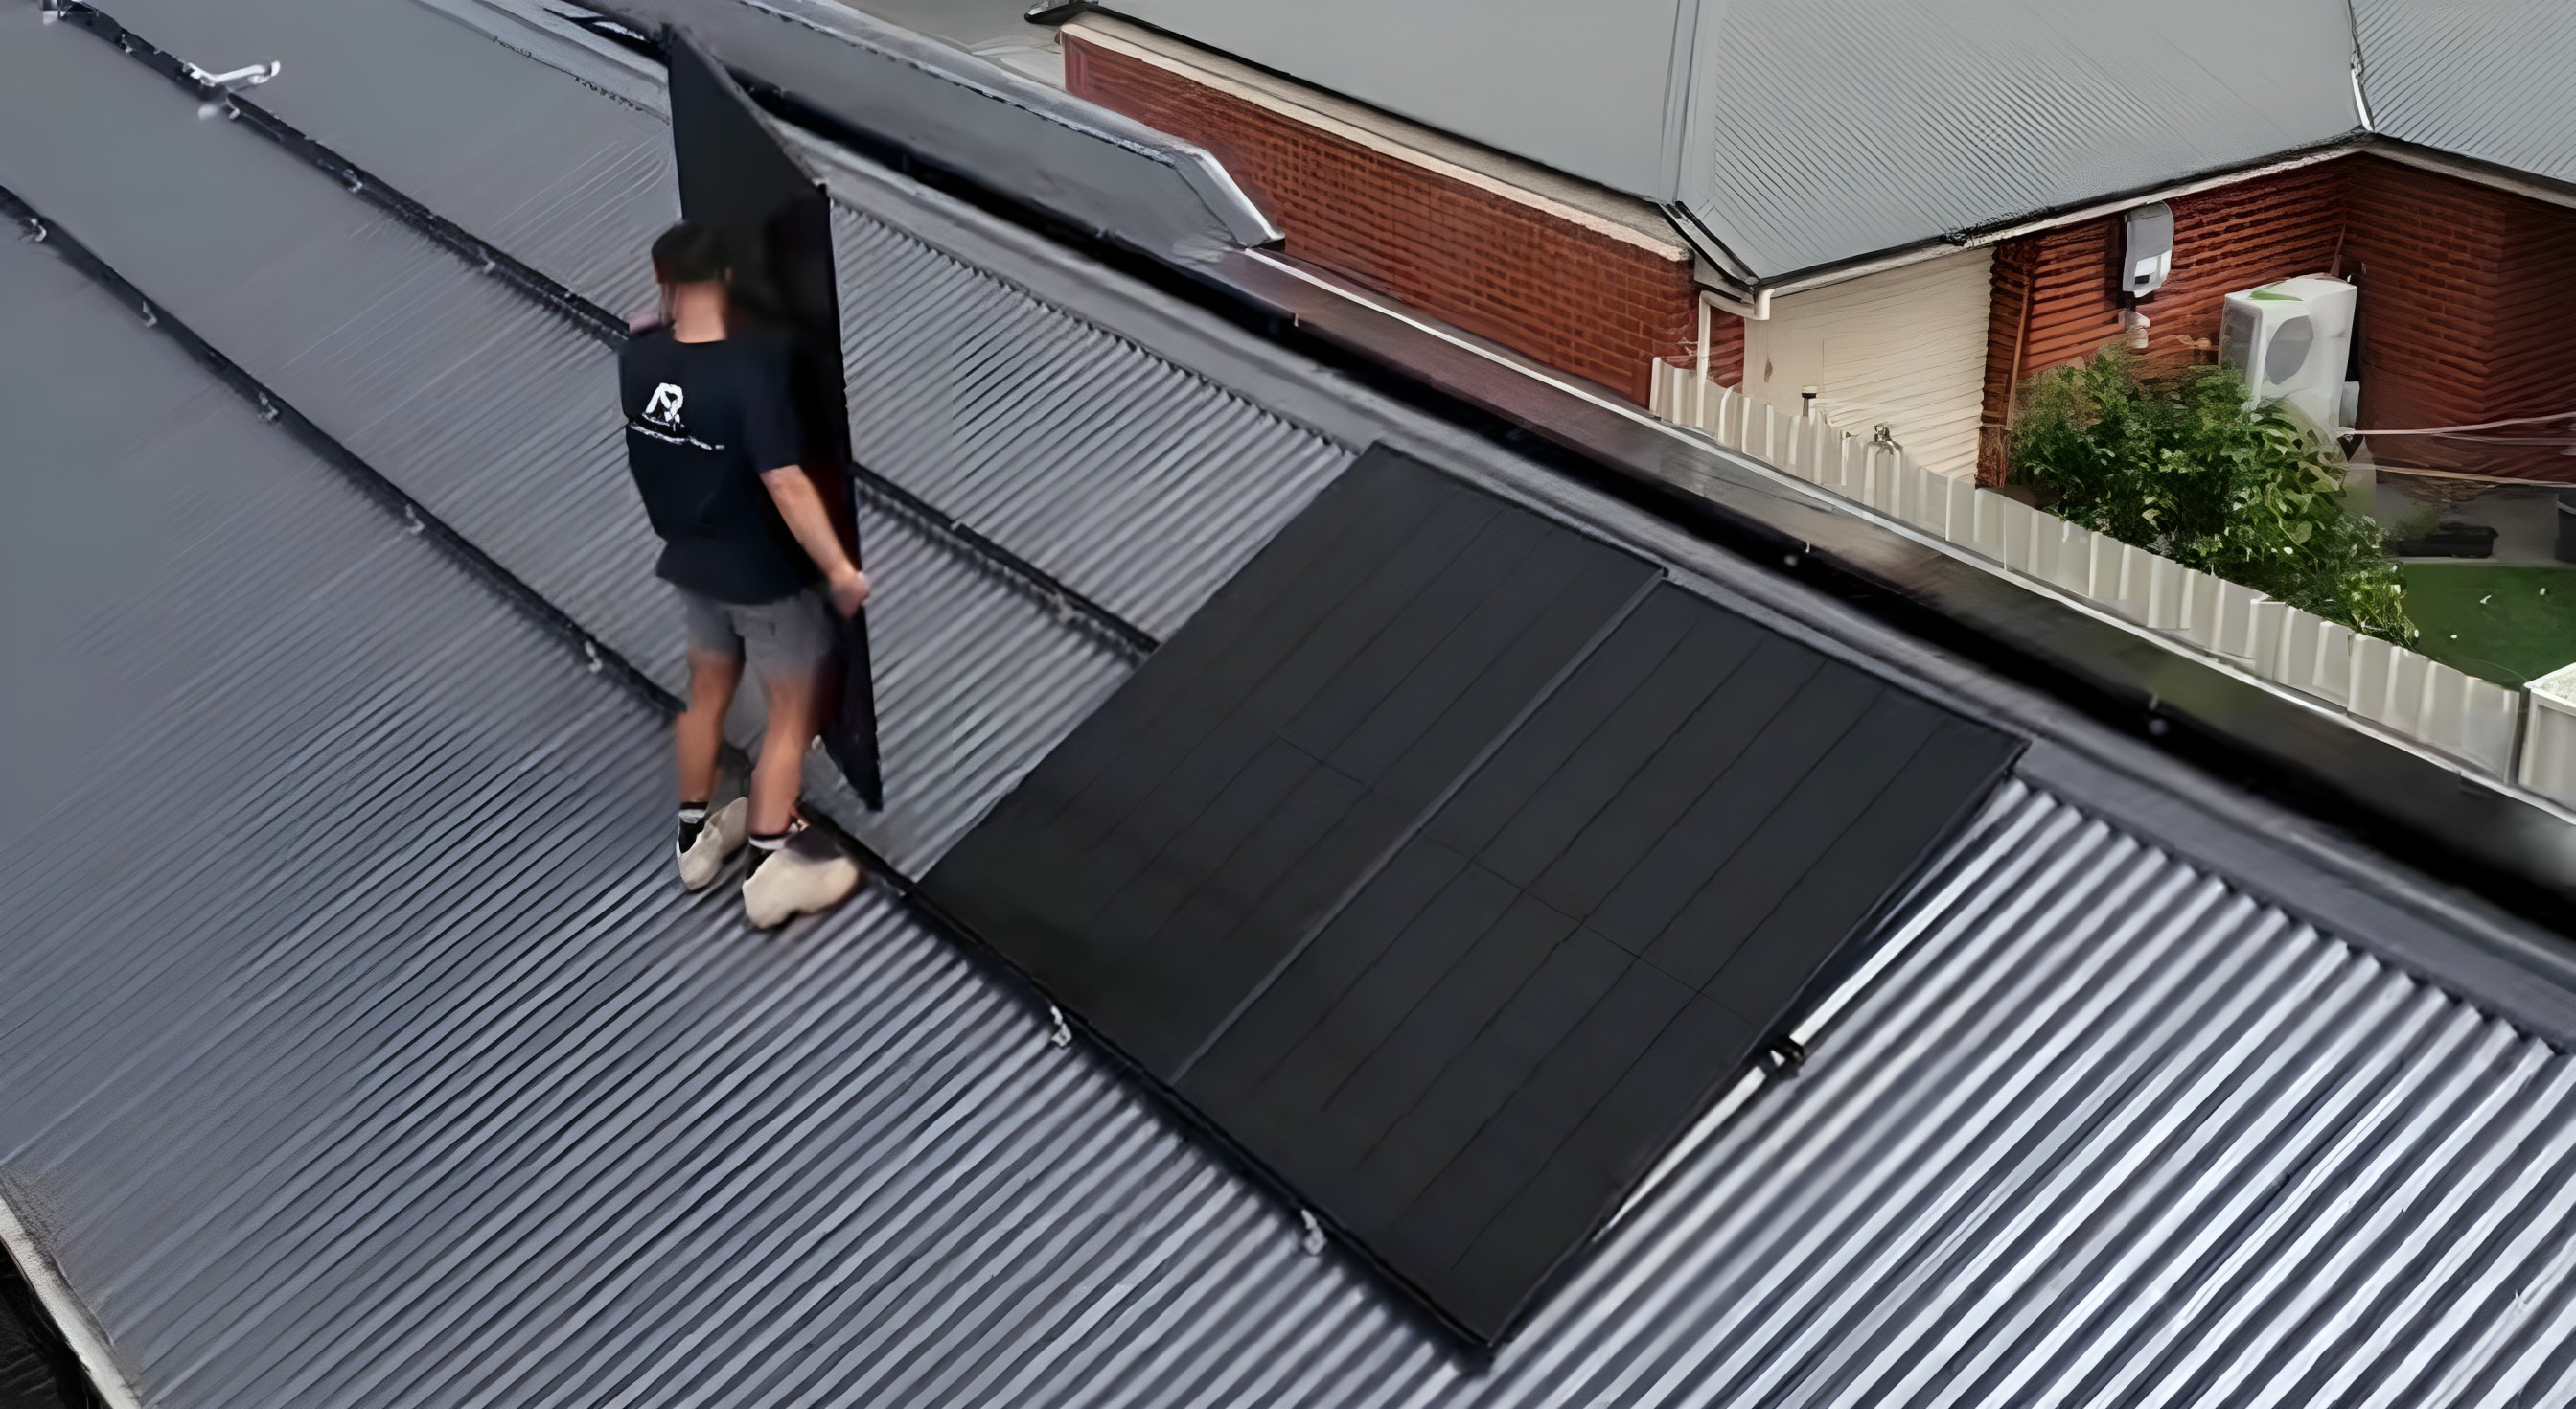
On installation day, our friendly, fully licensed, and SAA-accredited installers will:
1. Set up safely with ladders, harnesses, and roof protection
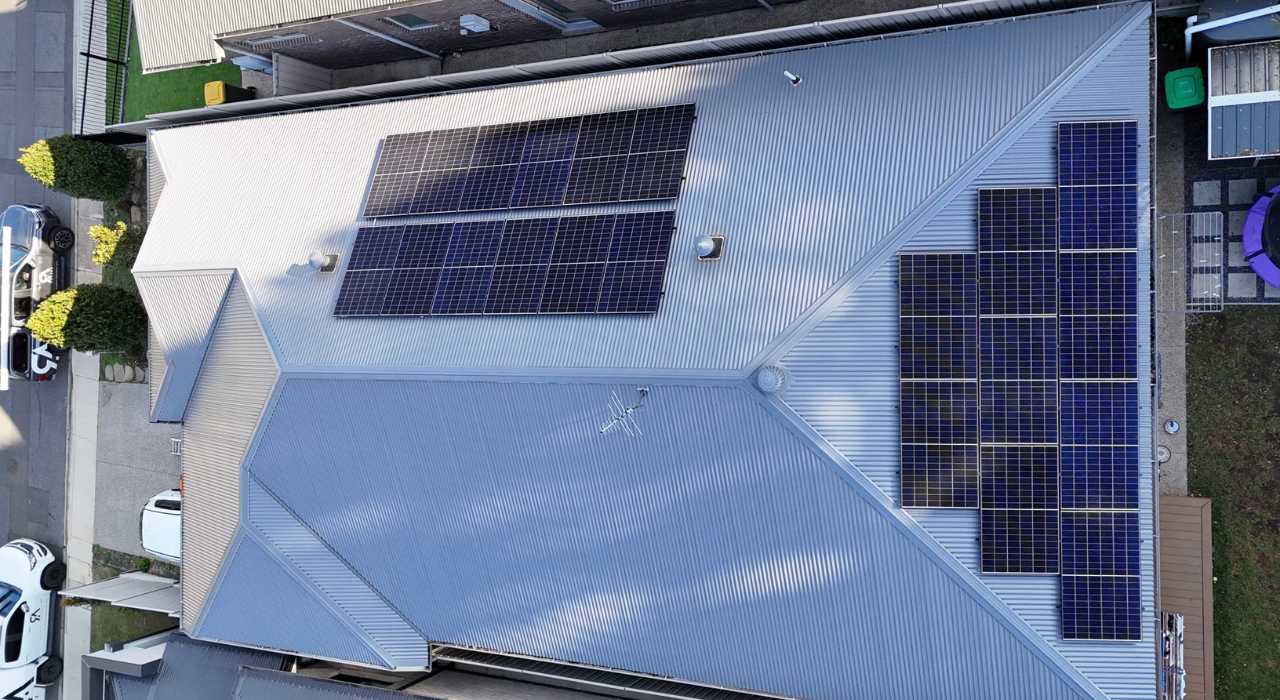
2. Mount the solar panels on your roof with quality racking systems
3. Install your inverter in a convenient, shaded location
4. Connect and integrate your solar system into your switchboard
5. Perform electrical safety tests and commissioning to ensure compliance
We prioritise clean, professional workmanship and treat your home with respect throughout the process.
Step 7. Connection to the Grid
After installation, AR Energy will lodge your paperwork with your electricity retailer and network distributor to:
1. Register your new solar system
2. Activate your solar feed-in tariff (FiT)
3. Complete your grid connection approval
This ensures you can export any excess solar energy and start receiving credits on your electricity bills.
Step 8. System Handover and Monitoring Setup
Once your system is fully installed and grid-connected, our team will:
1. Provide a detailed handover and demonstration
2. Set up your solar monitoring app so you can track production and savings in real time
3. Explain maintenance tips to keep your panels performing at their best
Tip: Regularly checking your monitoring app helps you identify any unexpected performance issues early.
Step 9. Ongoing Support and Maintenance
At AR Energy, we don’t disappear after installation. Our support team is here for:
1. Warranty claims or product support
2. Annual maintenance advice
3. System expansion enquiries (e.g. adding more panels or a battery later)
We stand by our workmanship and only recommend trusted brands with strong Australian warranty support for peace of mind.
Why Choose AR Energy?
Choosing AR Energy means partnering with a South Australian-owned company that understands local conditions, energy regulations, and what truly works for Adelaide homes. We are known for:
1. Honest, upfront advice without pushy sales tactics
2. Quality installations by SAA-accredited professionals
3. Competitive pricing with no hidden costs
4. A commitment to supporting you long after installation
Final Thoughts
Going solar is a big decision, but it doesn’t have to be complicated. With AR Energy’s clear step-by-step installation process, you’ll have the confidence of knowing your system is designed and installed right the first time, so you can enjoy reliable, clean energy and lower power bills for years to come.

.jpg)
.jpg)
