What to Expect During a Solar Installation in Adelaide
Thinking about switching to solar energy in Adelaide? You’re not alone. Thousands of homeowners across South Australia are installing solar systems to cut energy bills and take advantage of the region’s sunny climate.
But if you’re new to the process, you might be wondering — what happens during a solar installation?
This guide walks you through each step, so you’ll know exactly what to expect when your solar system is installed — from your first consultation to the moment your panels start powering your home.
Why Adelaide Is Ideal for Solar Energy
Adelaide and much of South Australia enjoy abundant sunshine year-round, making it one of the best places in Australia to invest in solar power. In fact, with generous feed-in tariffs, access to solar battery rebates, and rising grid electricity prices, many homeowners are seeing a return on their investment within 3–5 years.
Whether you're looking to lower your bills, reduce your carbon footprint, or gain energy independence, installing solar in Adelaide is a smart move — and now’s a great time to do it.
Step 1: The Initial Solar Assessment
The process usually starts with an on-site or virtual consultation with a solar expert. They’ll evaluate your:
1. Roof size and orientation
2. Electricity usage patterns
3. Budget and energy goals
4. Eligibility for rebates and incentives
5. Switchboard configuration
6. Potential inverter & battery locations
You’ll receive a personalized system recommendation that includes the number of panels, inverter type, and whether a solar battery would be beneficial.
Tip:
Always choose a Solar Accreditation Australia (SAA)-accredited solar installer. This ensures you're eligible for government rebates and that your system meets all safety and performance standards.
Step 2: Final Quote and Approval
After the assessment, your installer will provide a detailed quote. This includes:
1. Total system cost
2. Expected savings over time
3. Rebates and government incentives applied
4. Timeline for installation
Once you approve the quote and sign the contract, your installer will begin the paperwork for grid connection and rebate applications (such as the STC program or state-specific solar incentives).
Step 3: Solar System Design & Pre-Installation Checks
Before installation, your installer will finalize the system design and ensure it complies with local council and utility network regulations. If needed, they’ll submit applications for:
1. Grid connection approval
2. Building permits (if applicable)
3. Rebate pre-approval
This stage typically takes 1–3 weeks, depending on your location and your electricity distributor.
Step 4: Installation Day
Here’s what you can expect on the day your solar system is installed:
Arrival & Setup
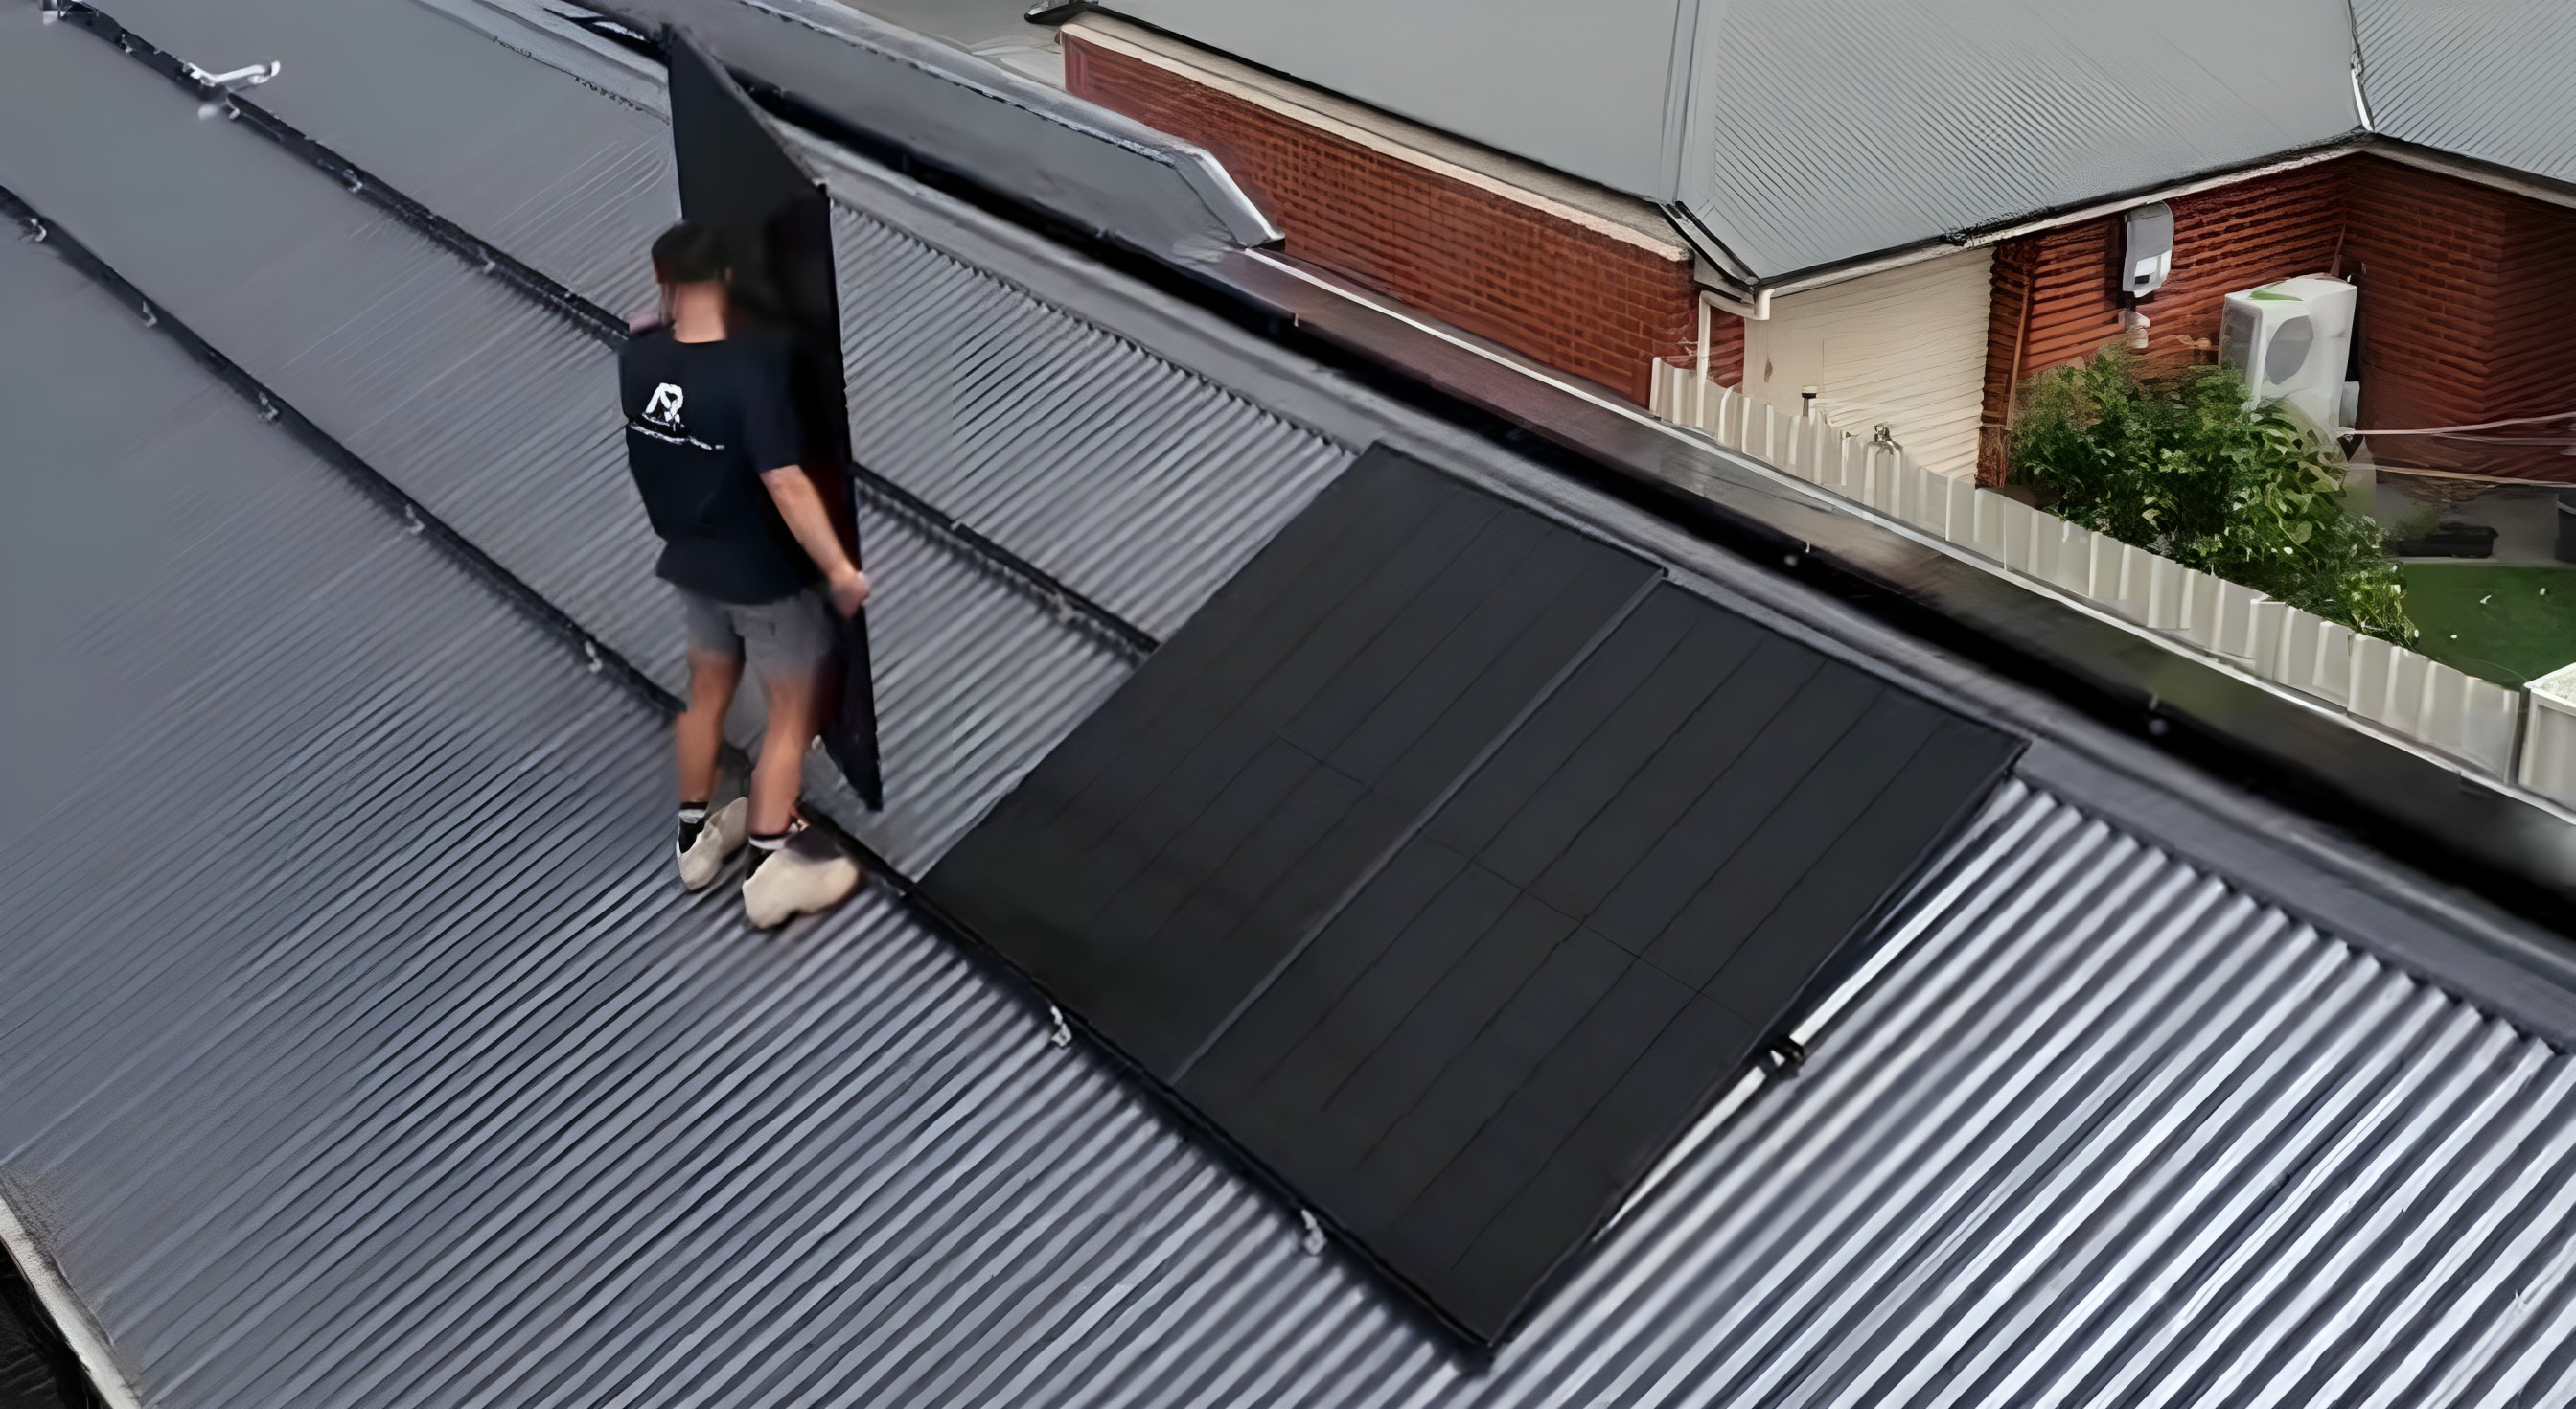
Your solar team (usually 2–4 qualified technicians) will arrive in the morning. They’ll go through the job plan with you and set up safety equipment such as harnesses and ladders.
Installation Process
The process generally includes:
1. Panel mounting on your roof (using rails/brackets)
2. Inverter installation, typically near your switchboard
3. Wiring and electrical setup
4. Connection to your switchboard and net meter
Most residential solar installations in Adelaide take 1 full day, though larger or more complex systems may require more time.
Step 5: System Testing and Handover
Once the physical installation is complete, the team will test the system to ensure everything works correctly. They’ll walk you through:
1. How the inverter works
2. How to monitor your solar production
3. Safety shutdown procedures
4. How and when your system connects to the grid
You’ll also receive a compliance certificate and warranty documentation for your system and components.
Step 6: Grid Connection and Metering
After installation, your electricity retailer will install or reconfigure your smart meter to measure solar export and grid usage. This can take anywhere from 1 to 3 weeks, depending on the provider.
Once complete, your system can begin exporting excess energy back to the grid — and you’ll start seeing feed-in credits on your power bills.
How Much Disruption Should You Expect?
Most solar installations in Adelaide are low-disruption, with installers accessing the roof and outdoor areas. You may experience:
1. Temporary power shutdown (30–60 mins)
2. Some foot traffic on your roof
3. Basic drilling and inverter mounting on an exterior wall
The good news? Installers clean up after themselves and leave your property just as they found it.
Post-Installation Support
A good solar provider won’t disappear once the job is done. Look for companies that offer:
1. Ongoing performance monitoring
2. Maintenance support
3. Battery upgrades and system expansions
4. Help with warranties or inverter errors
If you chose a solar battery your installer can also help you join a Virtual Power Plant (VPP) or smart energy program to earn even more from your system.
Why Choose AR Energy for Solar Installation in Adelaide?
At AR Energy, we provide end-to-end solar solutions in Adelaide and South Australian homeowners. Our experienced team helps you:
1. Understand your energy needs
2. Choose the right panel, inverter, and battery setup
3. Navigate all government rebates and approvals
4. Get a clean, professional installation with minimal hassle
We’re proudly South Australian and understand the unique energy conditions, rebates, and council regulations in Adelaide and regional SA.
Final Thoughts
Installing solar in Adelaide is a smooth and rewarding process when you know what to expect. From assessment to activation, your solar journey typically takes 3–5 weeks, and the benefits last for decades.
With the right system and a trusted installer, you can enjoy lower bills, clean energy, and greater control over your power future — right here in sunny South Australia.

.jpg)
.jpg)
